Showing posts with label Aircraft. Show all posts

DC-3 Airliner

9/16/2014 Add Comment

DC-3 engines all done.


Side door, the original C-47 kit had a big cargo door.


A little hole to fill.  I just used glue.


Landing gear, I managed to break it and then repair it.


Rubber bands to hold the wings in place while they dry.


I use a lot of rubber bands on my aircraft.


Engine parts waiting for final assembly.


The lower center wing is a separate part, makes for a very sturdy wing.


Finished aircraft, apart from painting and decals.

Airliner

9/15/2014 Add Comment

This will be a Swiss Air DC-3 for 1944/45.  They carried neutrality stripes, like red and white D-Day invasion stripes on the wings.  The completed airliner interior.


Stewardess attends to a passenger.


Ready for takeoff.


Movie flight, Triumph of the Will is playing.

Swiss Airliner, WWII

9/14/2014 Add Comment

Here is a start on the airplane crew.  Stewardess and pilot and co-pilot.


Passengers still in the process of painting, but laid out to see who fits best where.  The side of the figure next to the window has to have his arms down and in to account for the curvature of the fuselage.  I am also working on the color palette so that I don't have three people wearing purple next to one another. Carpet has the first layer of red paint.


Painting continues and you can see the figures are nearly done.  A second layer of carpet paint has been applied.  I think I ended up with five layers to cover the white, no primer.


I am leaving most of the interior white, I am planning on Swiss markings for the plane, so a red and white motif seems a good idea.  It also means I don't have to paint it all since the plastic is a very nice gloss white.  Also I want the light to reflect around inside and the white will help with that.


Crew is done, cockpit is nearly finished.

DC-3

9/13/2014 Add Comment

Using the plastic angle I created seats for the civilian passengers on my DC-3.


I gathered various civilians from the Civilians box.


I am locating the seats next to each window, as previously marked on the model part.


Since the seats have no leg room, the legs have to go from the figures, but they are put in the spares box in case legs are needed for some future project.  Painting begins, starting with some Easter pastels I got at Hobby Lobby.  MRS Bunkermeister found these paints for me.


Rich, red, thick, comfy seats for long range air travel.

DC-3 Airliner

9/12/2014 Add Comment

I am building a DC-3 from Revell.  The interior is more the C-47 military interior.  That does not work for an airliner.


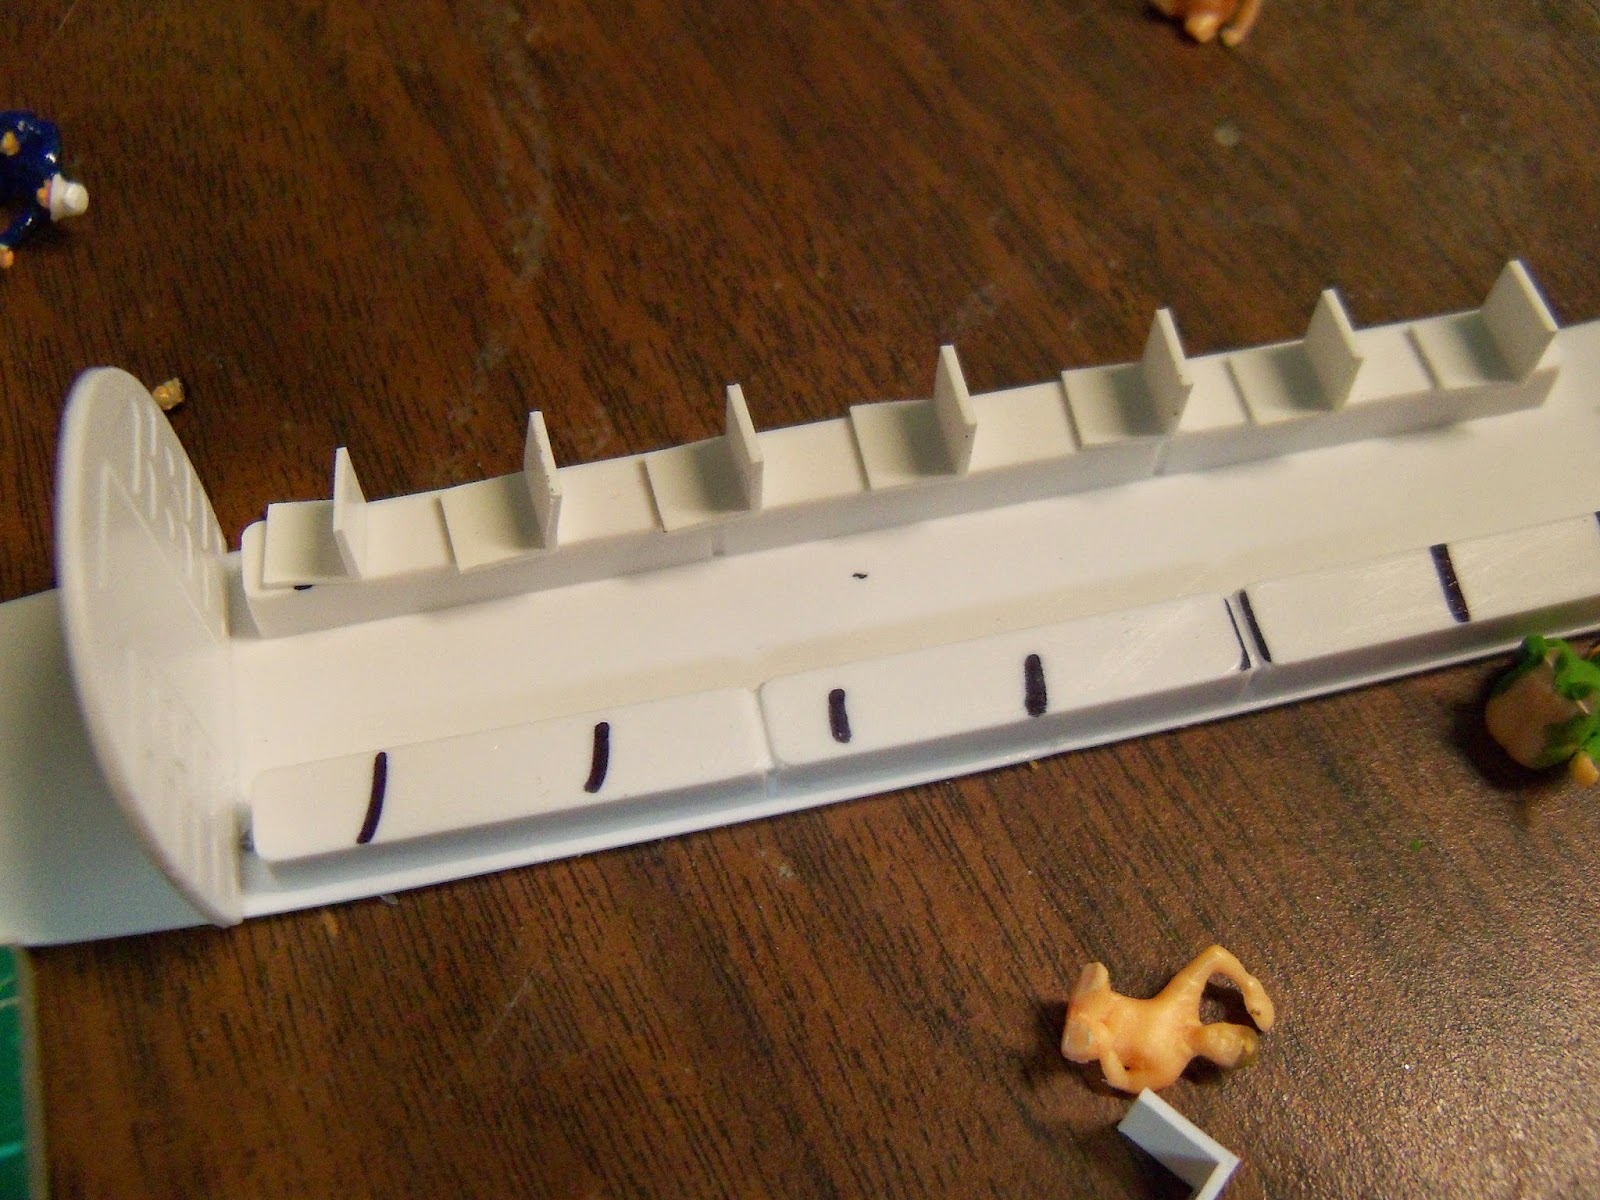
I have marked out where the seats go, next to a window.


Early models had two rows of seats, later models had three rows, one on one side of the plane and two on the other side of the plane.  This will be a two row plane.


Here is how it's supposed to fit together.


I will need to add some angle iron plastic to make the civilian seats.

P-51 Mustang Construction

7/10/2014 Add Comment

As part of my building 11 P-51 Mustang kits I am using this little cutting pad.  It saves the work surface from getting cut up.  I have several of them, this is one of the oldest and smallest.


Here is one of the planes, it is the 7th of them and almost done, lacking only canopy and landing gear.  I always build landing gear down so I can have my planes on the ground or in the air.


Canopies get glued on using Testors Clear Parts Cement & Window Maker.  It's really good for clear stuff because it dries clear and leave no fogging on the clear parts.


For general plastic glue work, I used Model Master Liquid Cement For Plastic Models.


Here are a few of my basic tools.  An Olfa knife with snap off blade, much sharper than X-Acto or any other I have found; X-Acto knife with #11 blade, a pair of stamp tongs, and a Tamiya sprue cutter.  It was about $25 and worth every penny.